Part 1: The Foundation – Hardware & OS Setup
Building a home server used to mean bulky towers and high electricity bills. Today, NAS Servers and mini PCs are very competitive, can be found for a couple hundred bucks and are easy to setup. Alongside them and as an possibly even cheaper alternative, there's the Raspberry Pi 5. It's powerful enough to run a media center and stream at 4k, a VPN gateway, and home automation, all while sipping less power than a lightbulb.
In this series, we are going to build a "Set and Forget" home server. We will cover everything from handling high-speed storage to creating a "Teleportation Gateway" for your Smart TV.
Part 1 focuses on the most critical (and often overlooked) step: The Foundation. Getting the storage and permissions right now will save you hours of "Permission Denied" errors later.
In the future I might do a similar setup on a proper NAS Server, but as I wanted to start small with the tools I had, saving costs and guaranteeing all my current needs are covered, a Raspberry Pi 5 proved to be enough.
🛠 The Hardware Stack
We aren't using SD cards for storage anymore. They are slow and prone to corruption.
- Computation: Raspberry Pi 5 (4GB or 8GB).
- Storage: NVMe SSD (M.2) connected via a USB 3.0 adapter or a dedicated hat. I used this one (~15€) from Pimoroni.
- OS Drive: A small, high-quality SD card (just for booting the OS).
Step 1: Headless OS Installation
We don't need a monitor or keyboard. We will set this up remotely.
- Download the Raspberry Pi Imager.
- Choose Raspberry Pi OS Lite (64-bit). We don't need a desktop interface slowing us down.
- Advanced configuration: Click the "Settings" (Gear icon) before writing.
- Write to the SD card, plug it into the Pi, and power it up.
Step 2: Make sure storage is mounted
Unfortunately the storage drives we will use may not be automatically mounted. If you don't mount the drive permanently, your server will break the next time it reboots. To make sure the drive is mounted, we will use an ssh connection to the Raspberry Pi.
Finding the drive and allocating the directory
ssh pi@homeserver.local
# 1. Find the drive
# You are looking for your large SSD (usually named `sda` or `nvme0n1`).
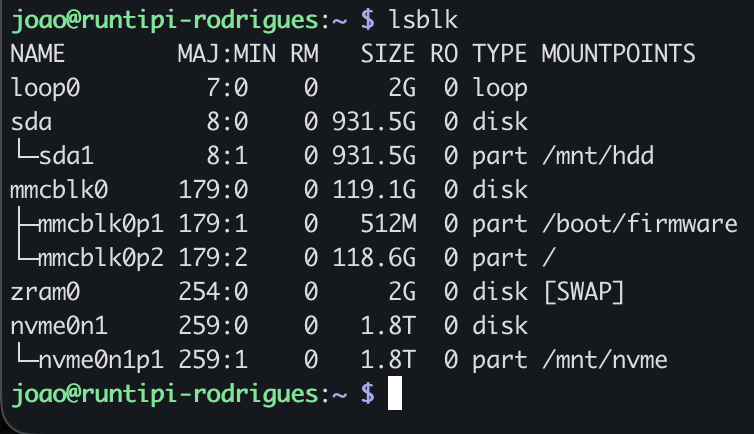
lsblk
# 2. Format it (If new) *Warning: This wipes the drive.*
sudo mkfs.ext4 /dev/sda1
# 3. Create the Permanent Home
sudo mkdir -p /media/storageMounting
We need to tell Linux to mount this drive automatically at boot.
# First, get the drive's unique ID (UUID):
sudo blkid
# Copy the UUID string and edit the fstab file.
sudo nano /etc/fstab
# Add this line at the bottom
UUID=YOUR-UUID-HERE  /media/storage  ext4  defaults,noatime  0  2
Test it immediately (do not reboot yet!):
sudo mount -aIf you get no errors, you are safe. Below you find a screenshot of my mounted drives.
Step 3: The Common Blindspot (Permissions)
This is where 90% of home server projects fail. By default, the folder /media/storage is owned by root. But your apps (RunTipi, Plex, etc.) usually run as the user pi (UID 1000).
The Fix:
sudo chown -R 1000:1000 /media/storage
sudo chmod -R 775 /media/storage
Step 4: Installing the Manager (RunTipi)
We could write docker-compose files manually, but RunTipi makes managing a home server incredibly easy.
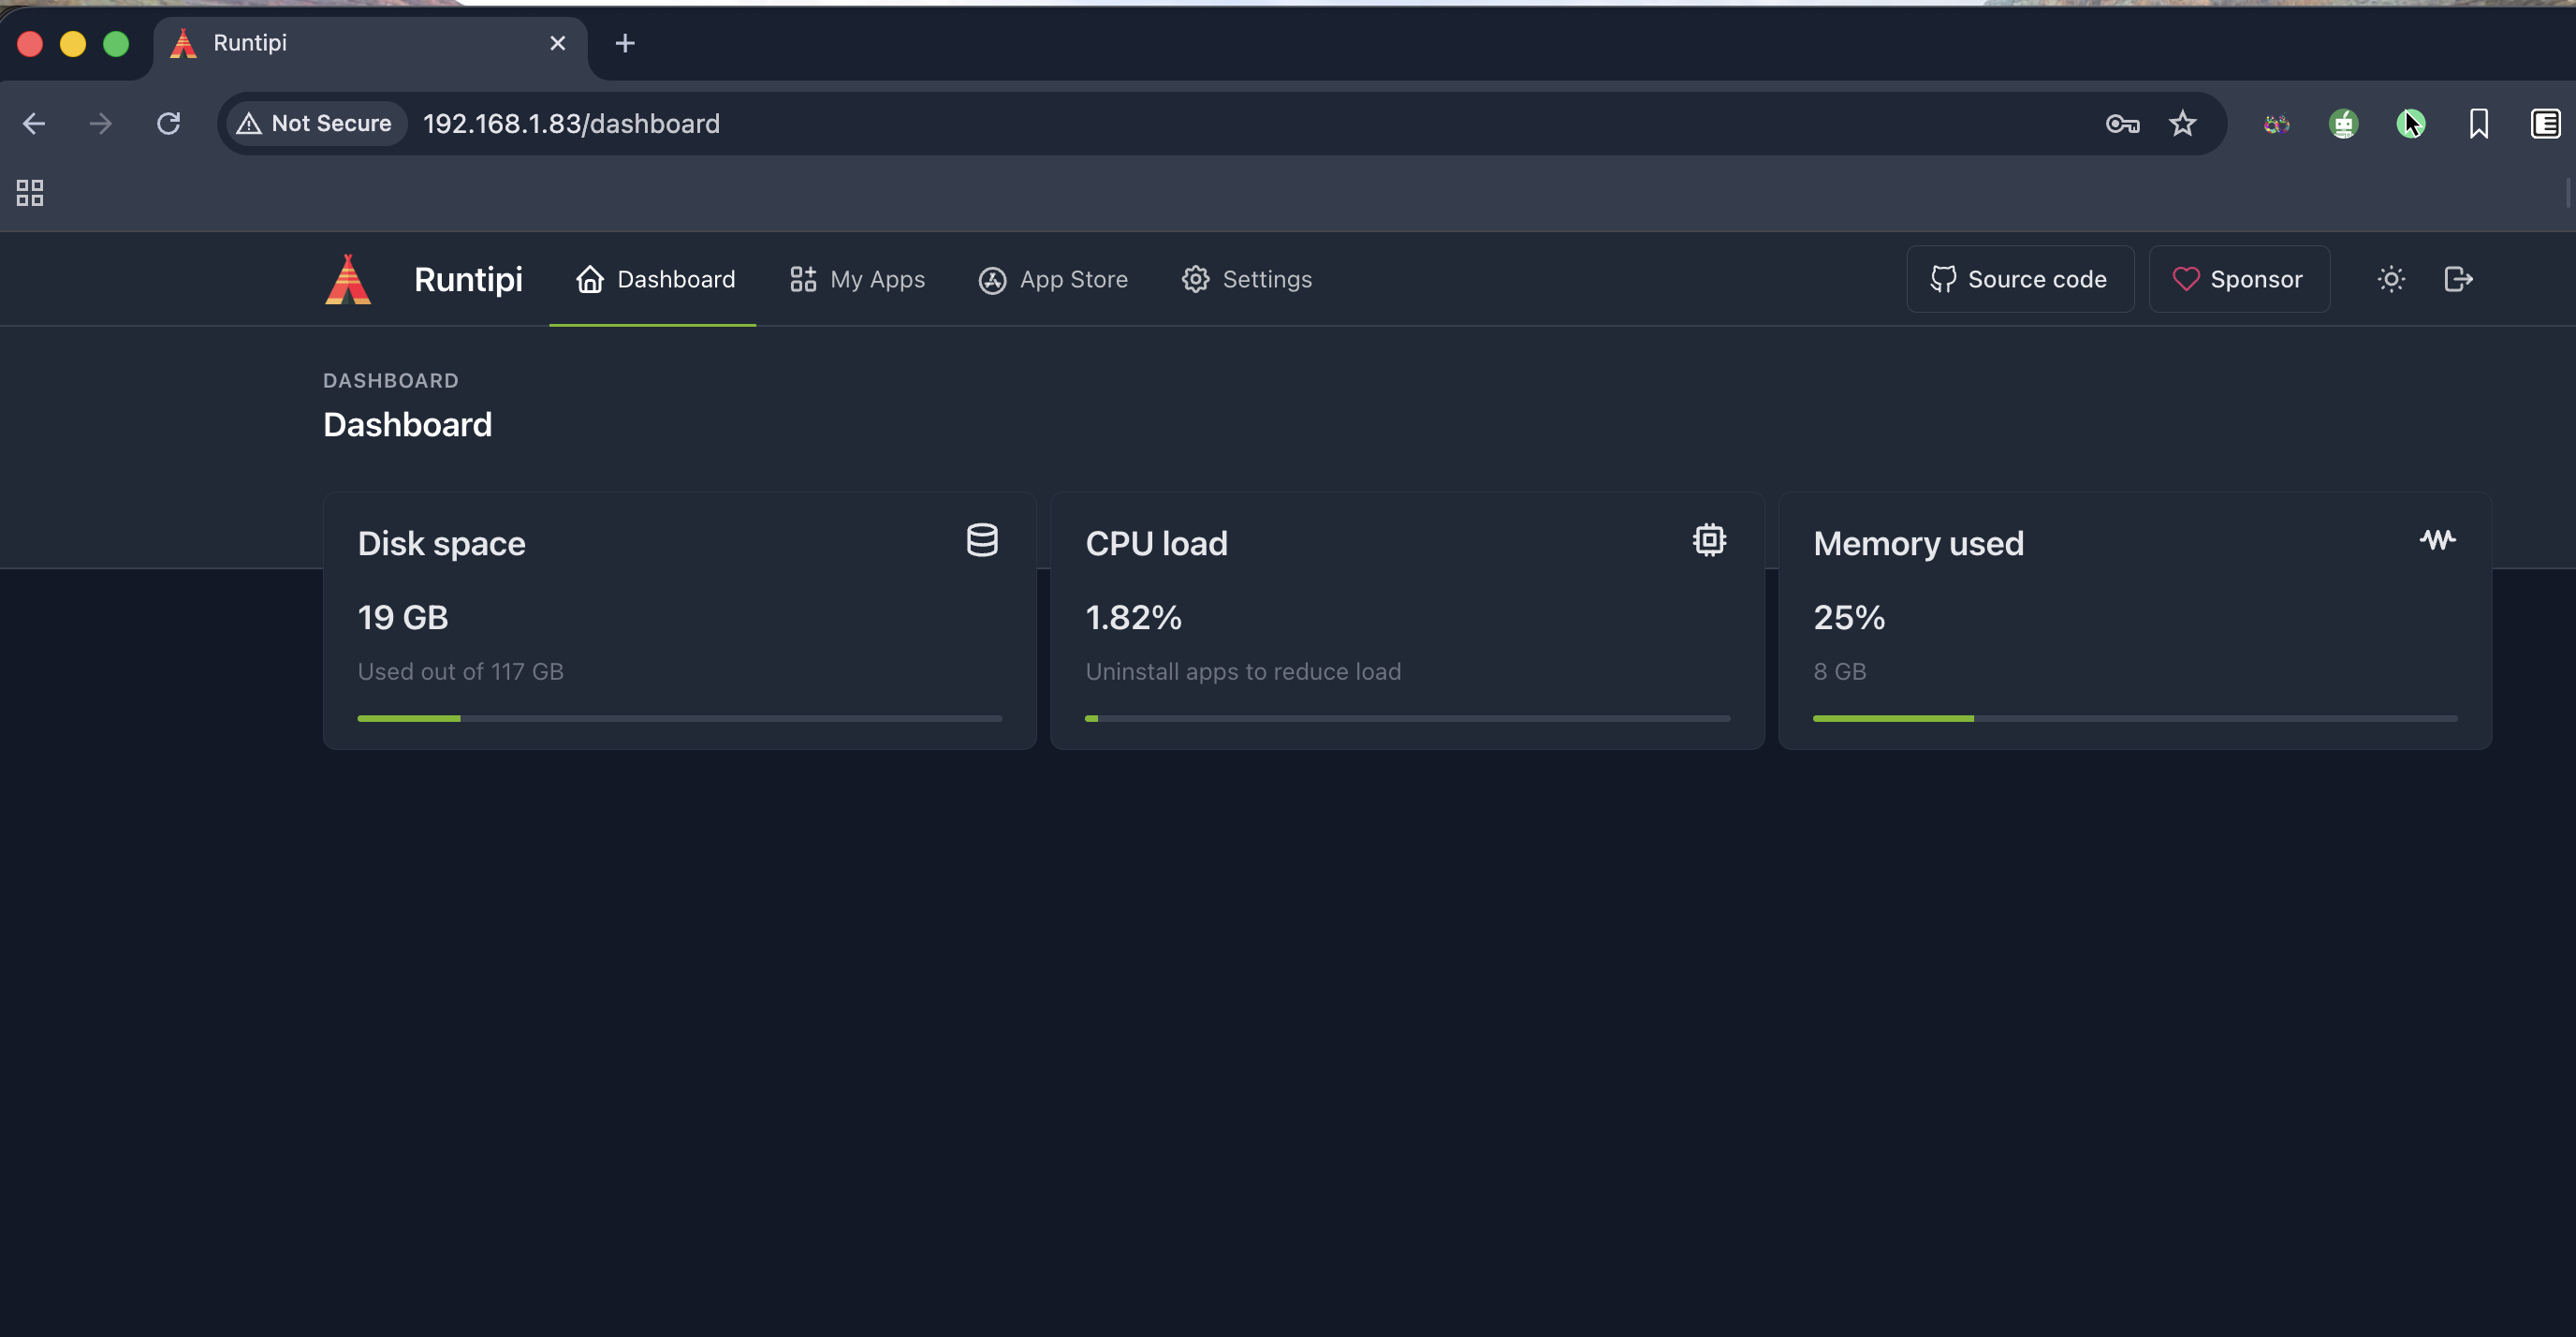
curl -L https://runtipi.io/install | bashOnce finished, open your browser and go to http://homeserver.local. You will be greeted by your new dashboard.
Next Steps
Your foundation is rock solid. In Part 2, we will turn this quiet server into a media powerhouse by setting up Plex, handling hardware transcoding on the Pi 5, and automating your media library management.